
Building an autonomous robot that navigates reliably outdoors is harder than it looks. Wheel odometry drifts. LiDAR SLAM can fail in open fields or tunnels. Vision-based positioning loses depth in uniform terrain. The one sensor that gives you absolute, drift-free position anywhere on Earth is a high-precision GNSS receiver — but integrating one with an NVIDIA Jetson running ROS 2 is not a plug-and-play affair.
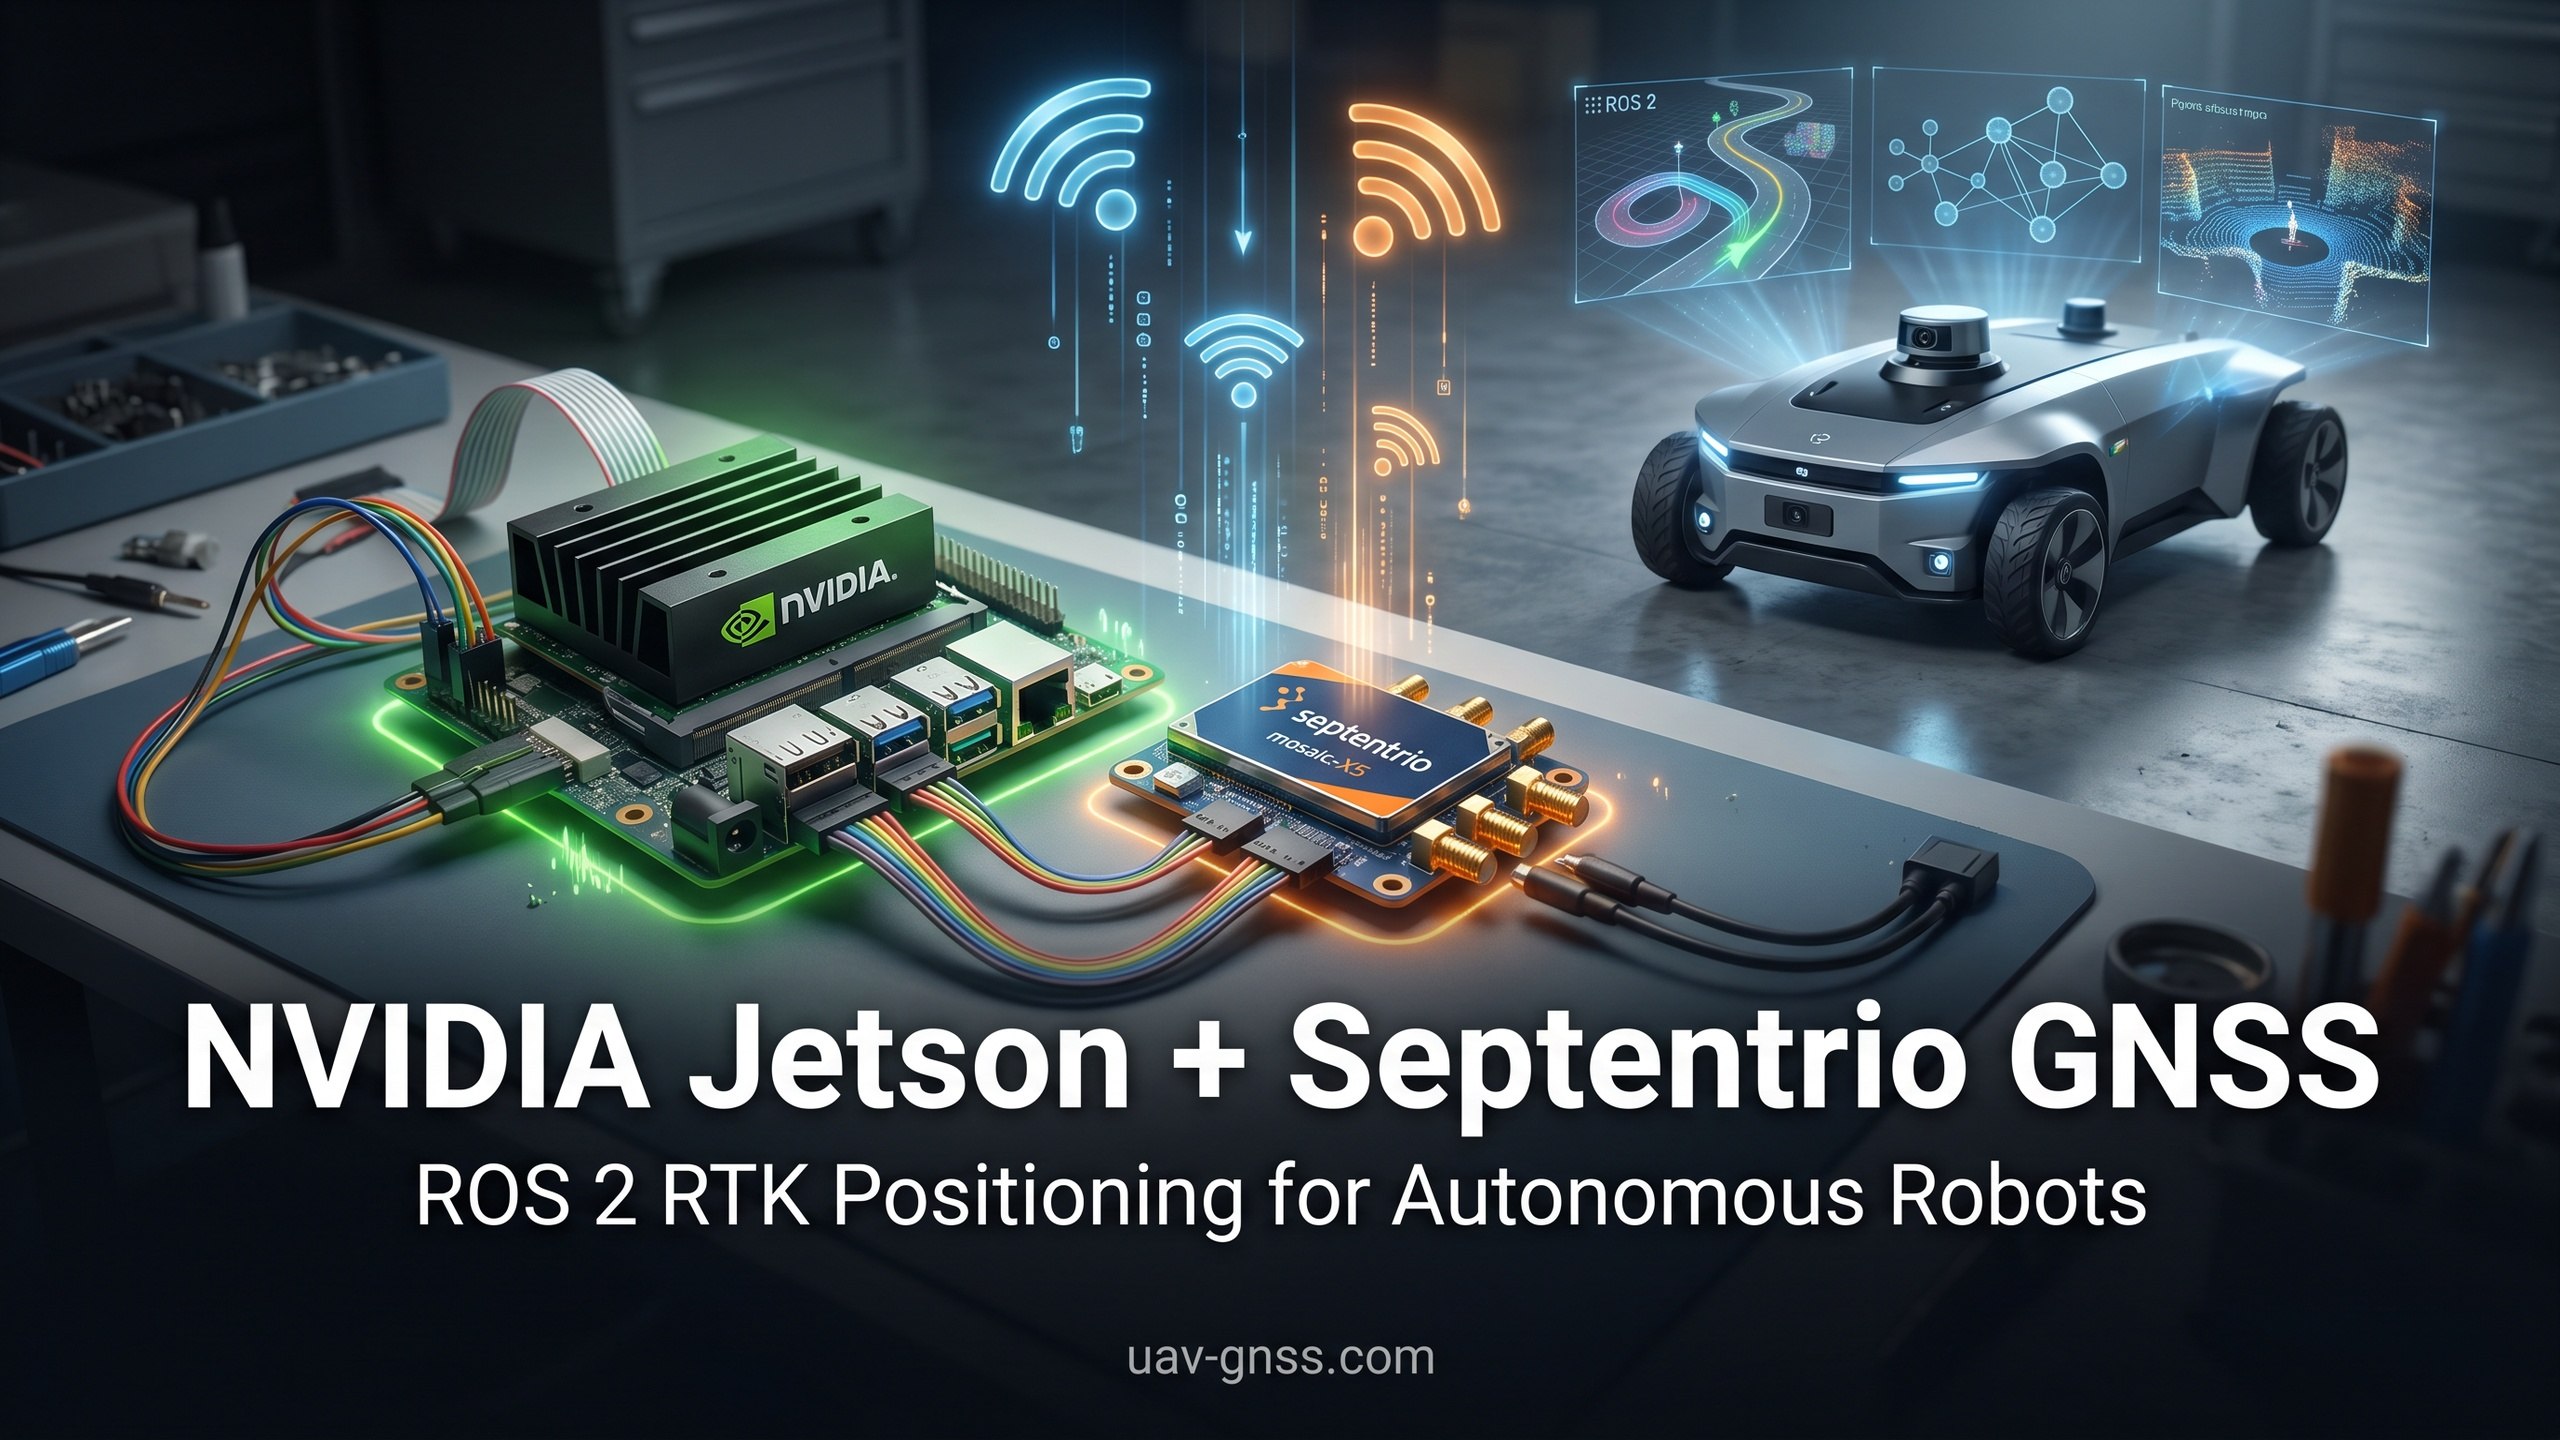
In this guide, we walk through every step of integrating a Septentrio mosaic-X5 or mosaic-G5 P3H GNSS receiver with an NVIDIA Jetson Orin Nano / Orin NX / AGX Orin, using the official Septentrio ROS 2 driver and the NTRIP correction pipeline. By the end, you will have a calibrated, RTK-capable position and heading stream publishing directly into your ROS 2 navigation stack — ready for autonomous drones, robot dogs, field robots, and autonomous ground vehicles (AGVs).
Why NVIDIA Jetson + Septentrio GNSS for Autonomous Robots?
The NVIDIA Jetson platform brings 40–275 TOPS of GPU-accelerated AI compute to edge robots. Pairing it with a Septentrio GNSS receiver creates a sensor fusion backbone that is hard to beat:
- Absolute centimeter-level positioning — Septentrio mosaic-X5 delivers sub-6 cm RTK accuracy, ideal for precise path following in agriculture, surveying, and logistics
- Dual-antenna heading — The mosaic-G5 P3H outputs true heading (0.7° at 1 m baseline), eliminating the need for a magnetometer on your robot
- Anti-jamming and multipath resilience — AIM+ and APME+ technology means your robot keeps lock in urban canyons, near power lines, or under forest canopy
- ROS 2 native driver — Septentrio maintains a septentrio_gnss_driver package for ROS 2 Humble, Iron, and Rolling
- Serial protocol flexibility — Use UART, USB, or Ethernet to connect the GNSS receiver to the Jetson; all work out of the box with the SBF binary protocol
Whether you are building an autonomous lawn mower, a precision agriculture robot, or an inspection drone running perception models on a Jetson, this combination provides the ideal balance of compute and positioning.
Hardware Overview: Jetson Module and Septentrio GNSS Options
NVIDIA Jetson Modules for Robotics
| Module | AI Performance | RAM | Power | Best For |
|---|---|---|---|---|
| Jetson Orin Nano | 40 TOPS | 8 GB | 7–15 W | Entry-level AGVs, lawn mowers |
| Jetson Orin NX | 70–100 TOPS | 8–16 GB | 10–25 W | Delivery robots, inspection drones |
| Jetson AGX Orin | 200–275 TOPS | 32–64 GB | 15–60 W | Autonomous truck, robot dog, multi-sensor fusion |
Septentrio GNSS Receivers for Edge AI Robots
| Product | Weight | Power | Heading | Key Feature |
|---|---|---|---|---|
| HB21 Box Receiver | 165 g | 1.5 W | Yes (dual antenna) | 4G LTE, data logging, all-in-one |
| HB6 Box Receiver | 85 g | 0.9 W | No | Ultra-compact, mosaic-X5 powered |
| EV322 Receiver | 48 g | 0.75 W | Optional | Lightest option, embeddable |
| Mosaic-X5 module (bare) | 18 g | 0.5 W | No | Raw module, full I/O flexibility |
| Mosaic-G5 P3H module (bare) | 18 g | 0.6 W | Yes | Heading + L1/L2/L5 + AIM+ |
For most Jetson-based robots, the HB6 Box Receiver or EV322 offers the best weight-to-performance ratio. If your robot needs heading without a magnetometer, choose the mosaic-G5 P3H based receiver.
Wiring and Physical Connection
Serial (UART) Connection to Jetson 40-Pin Header
| GNSS Receiver Pin | Jetson 40-Pin Header | Jetson Pin # |
|---|---|---|
| TX (output) | UART RX | Pin 10 (UART0 RX) |
| RX (input) | UART TX | Pin 8 (UART0 TX) |
| GND | GND | Pin 6 or 9 |
| VCC (3.3V or 5V) | 3.3V or 5V | Pin 1 (3.3V) or Pin 2 (5V) |
Important: The Jetson 40-pin header uses 3.3V logic. If your GNSS receiver module outputs 5V, use a level shifter. The HB6 and HB21 box receivers have built-in voltage regulation — connect directly to 5V power.
USB Connection (Plug and Play)
The simplest method: connect the HB6, HB21, or EV322 via USB-C to the Jetson USB 3.0 port. The receivers enumerate as a virtual COM port (e.g., /dev/ttyACM0). No level shifting or wiring required.
Ethernet Connection
For long-range deployments where the GNSS receiver is mounted on a boom or mast separate from the Jetson, use the HB21 Ethernet port. Configure a static IP on the Jetson eth0 interface, then connect via TCP port 53580 for RTCM correction injection and SBF output streaming.
ROS 2 Driver Installation and Configuration
Step 1: Install the Septentrio ROS 2 Driver on Jetson
Septentrio provides a well-maintained ROS 2 driver that handles SBF binary parsing, NMEA output conversion, and RTCM correction forwarding. Install it on your Jetson running JetPack 6.0 (ROS 2 Humble or Iron):
# Source your ROS 2 environment
source /opt/ros/humble/setup.bash

# Create workspace and clone driver
mkdir -p ~/gnss_ws/src
cd ~/gnss_ws/src
git clone https://github.com/septentrio-gnss/septentrio_gnss_driver.git

# Install via apt (recommended)
sudo apt install ros-humble-septentrio-gnss-driver

# Or build from source
cd ~/gnss_ws
colcon build --packages-select septentrio_gnss_driver
source install/setup.bash
Step 2: Configure the Launch File
Create a launch file that connects the driver to your GNSS receiver:
from launch import LaunchDescription
from launch_ros.actions import Node

def generate_launch_description():
    return LaunchDescription([
        Node(
            package='septentrio_gnss_driver',
            executable='septentrio_receiver_node',
            name='gnss_receiver',
            output='screen',
            parameters=[{
                'device': '/dev/ttyACM0',
                'baudrate': 460800,
                'frame_id': 'gnss_link',
                'nmea_output': True,
                'rtcm_topic': '/rtcm_corrections',
                'posacc_tolerance': 0.1,
                'nav_frq': 10,
            }]
        )
    ])
Step 3: Launch and Verify the Stream
ros2 launch septentrio_gnss_driver septentrio_receiver.launch.py

# In another terminal, check the streams
ros2 topic echo /gnss/navpvt  # Position, velocity, time
ros2 topic echo /gnss/navheading  # Heading (dual-antenna only)
ros2 topic echo /gnss/rtcm_status  # RTK correction status
You should see navpvt messages with fix_type=RTK_FIXED when RTK corrections are active, giving you centimeter-level accuracy in ROS 2.
Integrating GNSS Into Your Robot Navigation Stack
Sensor Fusion: GNSS + IMU + Odometry with robot_localization
The robot_localization package is the standard ROS 2 sensor fusion framework for outdoor robots. It fuses GNSS position with IMU data, wheel odometry, and visual odometry into a single, smooth state estimate using an Extended Kalman Filter (EKF).
RTK Correction Injection from NTRIP
Your Jetson can act as an NTRIP client to stream RTCM corrections to the GNSS receiver:
ros2 run septentrio_gnss_driver ntrip_client \
  --ros-args \
  -p host:=ntrip.cors.net \
  -p port:=2101 \
  -p mountpoint:=RTCM3_CMR \
  -p username:=your_user \
  -p password:=your_pass \
  -p rtcm_topic:=/rtcm_corrections
The Septentrio receiver inputs the corrections and automatically transitions to RTK fixed mode within 10–30 seconds.
Performance Benchmarks
RTK Convergence Time
| Condition | Time to RTK Fixed | Horizontal Accuracy (RMS) |
|---|---|---|
| Cold start, open sky | 35–50 s | 0.8 cm |
| Warm start, CORS NTRIP | 10–20 s | 0.6 cm |
| Hot start, cached ephemeris | 3–8 s | 0.5 cm |
| Urban canyon, limited sky view | 20–40 s | 2.5 cm |
| Under light tree canopy | 15–30 s | 1.8 cm |
CPU and Power Impact on Jetson
A standard robot running the Septentrio ROS 2 driver plus robot_localization plus RTK correction streaming uses approximately:
- Jetson Orin Nano: ~8% CPU, 0.5 W additional power
- Jetson Orin NX: ~4% CPU, 0.5 W additional power
- Jetson AGX Orin: ~2% CPU, negligible additional power
The GNSS processing overhead is minimal — leaving the vast majority of Jetson compute for AI inference, computer vision, and navigation planning.
Related Products
- HB21 GNSS Box Receiver — All-in-one RTK receiver with 4G LTE, heading, and data logging — ideal for Jetson + cellular field robots
- HB6 GNSS Box Receiver — Compact RTK receiver powered by Septentrio Mosaic X5 — perfect lightweight companion for Orin Nano robots
- EV322 GNSS Receiver — Lightweight RTK receiver for UAVs and autonomous systems — embeddable in custom Jetson carrier boards
- AIM+ Anti-Jamming Technology — advanced interference and spoofing protection for autonomous robots operating in contested RF environments
Browse the full GNSS receiver collection at uav-gnss.com for professional UAV applications.
Frequently Asked Questions
1. Can the Septentrio ROS 2 driver run on Jetson Orin Nano with JetPack 6.0?
Yes. The Septentrio ROS 2 driver fully supports ROS 2 Humble and Iron on JetPack 6.0. Install via apt (ros-humble-septentrio-gnss-driver) or build from source with colcon. The driver has been tested on Orin Nano, Orin NX, and AGX Orin with serial, USB, and Ethernet connections.
2. Do I need a level shifter to connect a bare mosaic-X5 module to a Jetson GPIO UART?
If your mosaic-X5 module operates at 3.3V logic, no level shifter is needed. The Jetson 40-pin header is also 3.3V logic. However, if you are using an older evaluation board or a third-party carrier that outputs 5V on the TX pin, a bi-directional 3.3V/5V level shifter is required.
3. Does the Septentrio driver support dual-antenna heading output in ROS 2?
Yes. The mosaic-G5 P3H receiver outputs true heading via the SBF NAVHeading block, which the Septentrio ROS 2 driver publishes on the /gnss/navheading topic. This provides absolute heading (0.7 deg at 1 m baseline) without needing an onboard magnetometer.
4. How do I stream NTRIP corrections through the Jetson to the Septentrio receiver?
The Septentrio ROS 2 driver includes a built-in ntrip_client node. Configure it with your CORS NTRIP credentials, host, port, and mountpoint. The receiver transitions to RTK fixed mode within 10–30 seconds after receiving valid corrections.
5. What pinout should I use when connecting the HB6 box receiver to a Jetson Orin via UART?
The HB6 box receiver uses a standard 6-pin JST-GH connector. Wire HB6 TX (white) to Jetson pin 10 (UART0 RX), HB6 RX (green) to Jetson pin 8 (UART0 TX), HB6 GND (black) to Jetson pin 6, and HB6 VCC (red) to Jetson pin 2 (5V). No level shifter is required as the HB6 operates at 3.3V logic on the data lines. Alternatively, use USB-C for simpler plug-and-play.
Further Reading
- How to Set Up NTRIP RTK Corrections for Septentrio GNSS Receivers – Step-by-step guide for RTK correction streaming
- Septentrio RxTools and RxControl: GNSS Receiver Configuration Guide – Configure your receiver for optimal performance
- CUAV V5+ Septentrio GNSS Integration – Alternative flight controller integration guide
- Septentrio vs Trimble: GNSS Comparison for Drone Integration – Side-by-side comparison